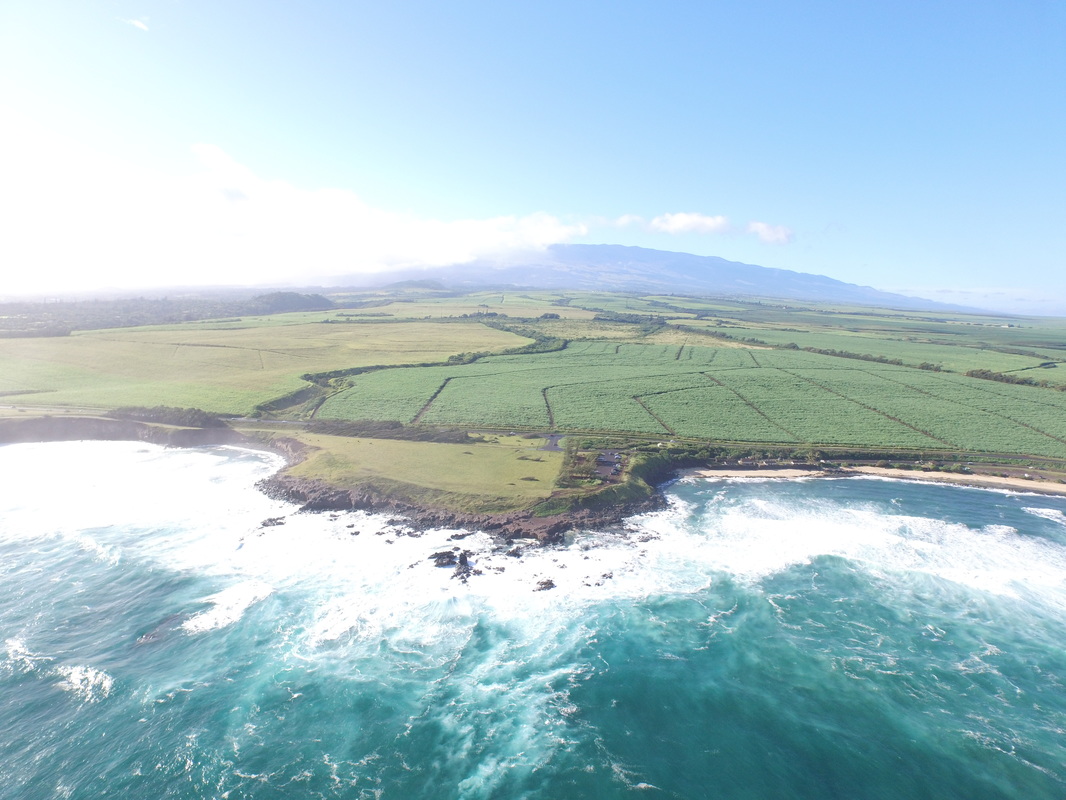
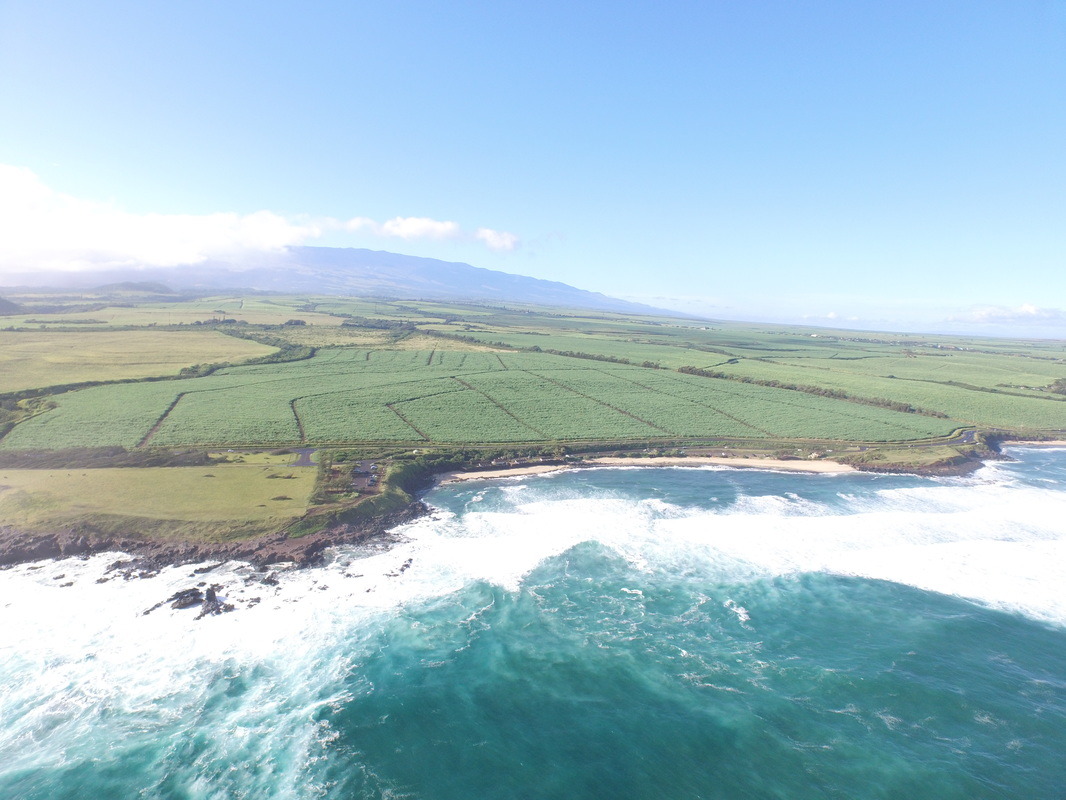
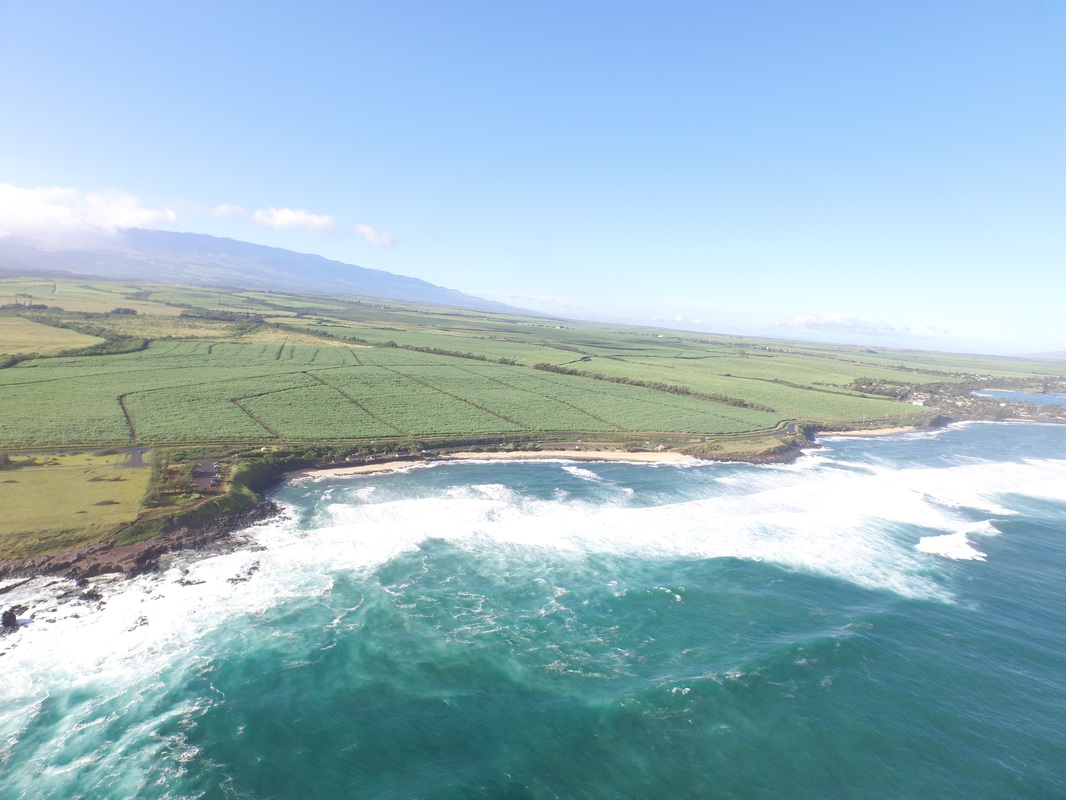
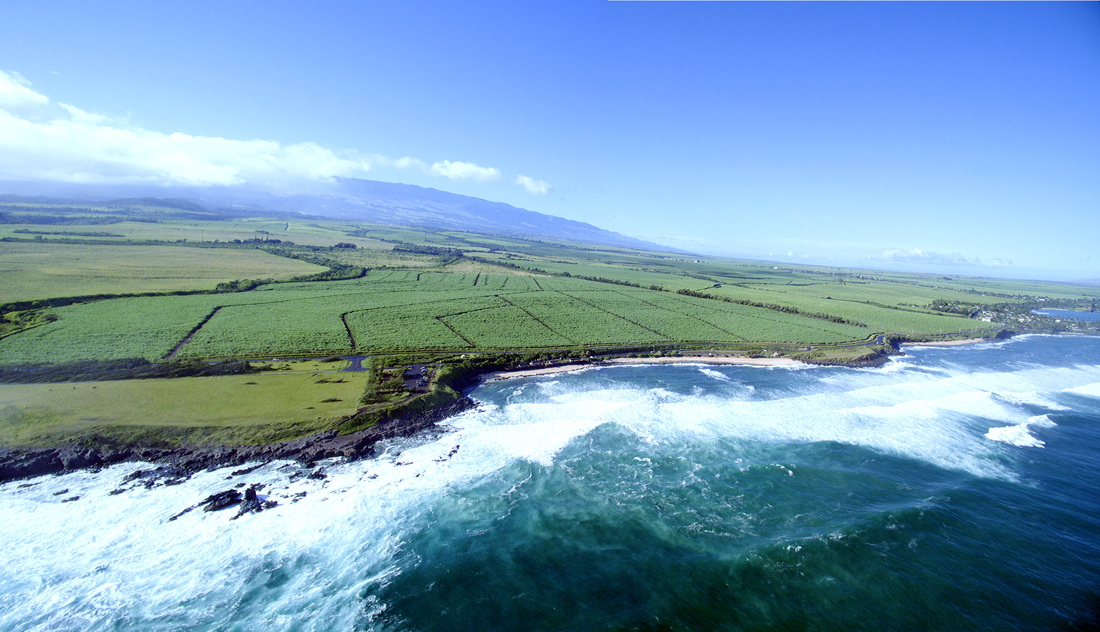
 The finished image of Ho'okipa Since switching to the Adobe suite of products, I have started to dive into some more difficult editing. One of the things I have been waiting to do is start making larger photos by stitching them together. I live about 2 minutes from Ho'okipa, so this is my testing ground. The steps to making a Panoramic with the Inspire 1You need to take at least 2 pictures to stitch together. You want your drone to be steady and stay in the same location so try and pick a day that is not windy or use a larger drone like the Inspire 1 that can handle the wind. Today was windy and raining, so I had to land and wipe off the lens but the results still turned out alright. I have tried several different times to get this right, and I think the trick to overlap more than you think you need too. I would try and get 30-50% overlap. Here are the three pictures I used:
The next thing you need to do is a Lens Correction to adjust for the curvature of the lens. Luckily this is really easy to do with Adobe Photoshop and Bridge. The latest version of Photoshop even has the Inspire 1 built in, so you just select this option and it happens. Next, you select your three files and "Photomerge" them. You should now have a panoramic image that has a strange shape. I just used the select tool and selected the most area I could fit into a rectangle. The result was the following: 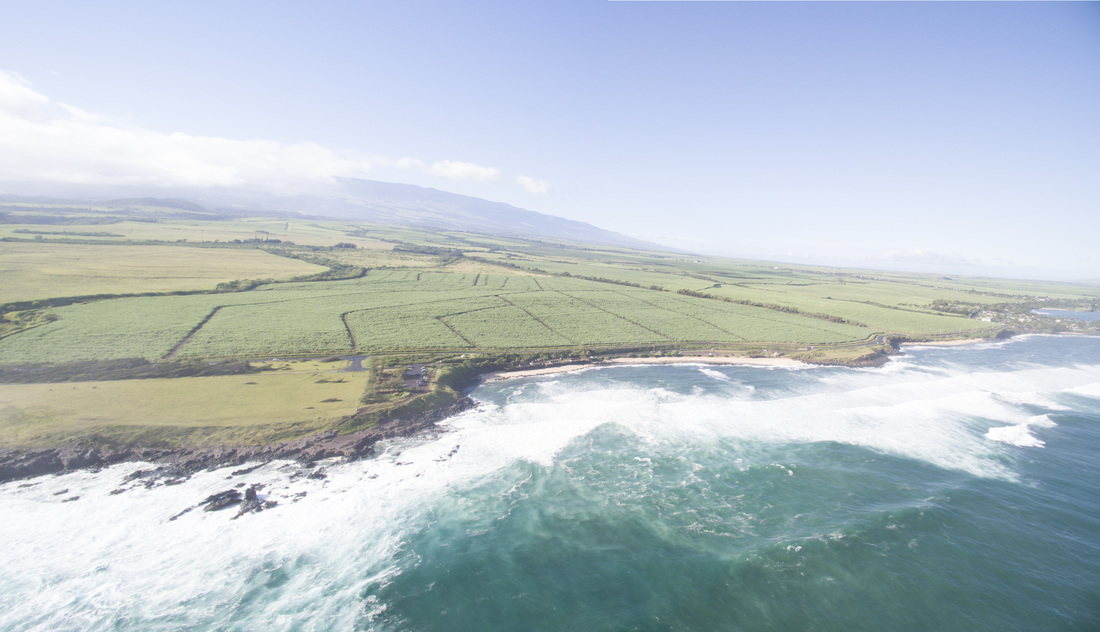 To arrive at the final image at the top, you have to mess with all of the image settings to get it set how you like it. I want to find some presets for editing because it takes awhile to get these images the way I like them. When I used Photoscape, I would just hit a few of the presets and I was always happy with the results. Having more features is useful but you have to climb up that steep learning curve!
Hope this helps get you started making an aerial panoramic image!
Comments
|
 Archives
June 2017
|