|
I wanted to expand a little bit on my ebook about starting an aerial photography business and provide some tips for improving your aerial photos. To do this, you need a free program called Photoscape. There are probably a thousand ways to do this, but this is the way I do it and it works! When I first started taking photos for real estate agents, I remember sending lots of unedited picture their way and I didn't hear anything back - they did not like the results. I spent some time learning how to spruce up these pictures and then sent 2-3 edited pictures their way and heard back right away! I was so surprised that doing a little editing did so much, but you can see an example below of before and after editing in Photoscape. The subject house in the below pictures is the house we are living in on Maui in Haiku. We just moved here and I can't wait to start getting more awesome aerial photography from Maui up! 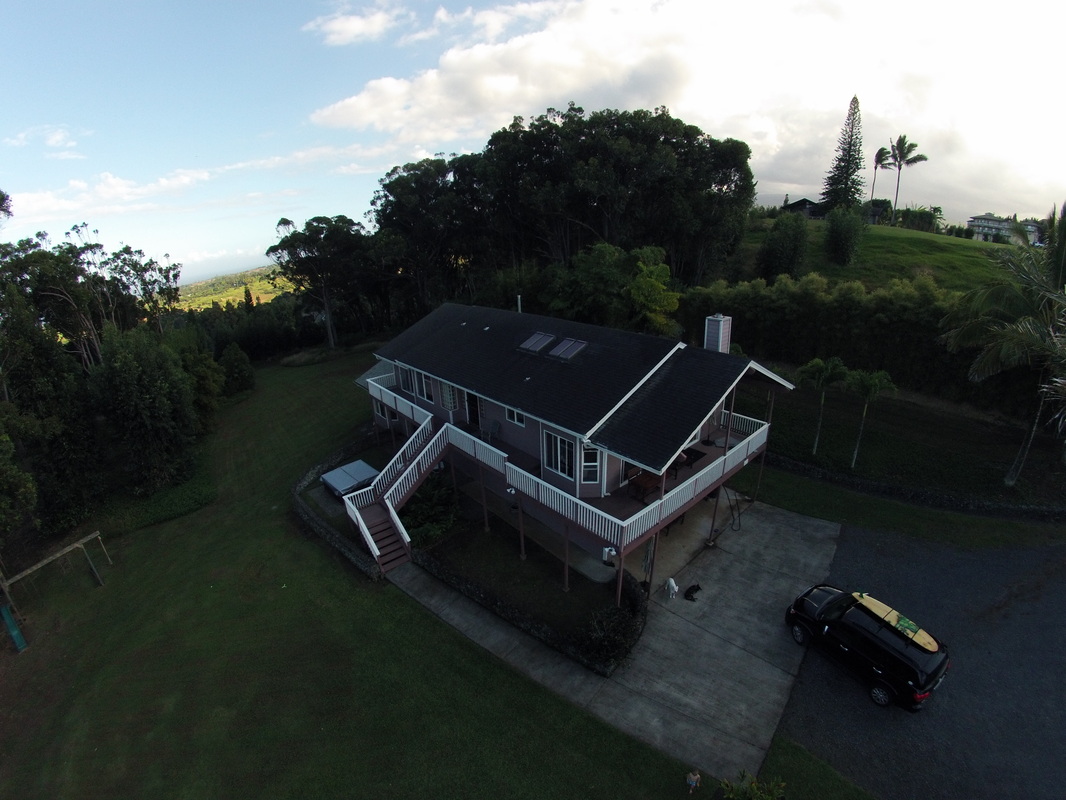 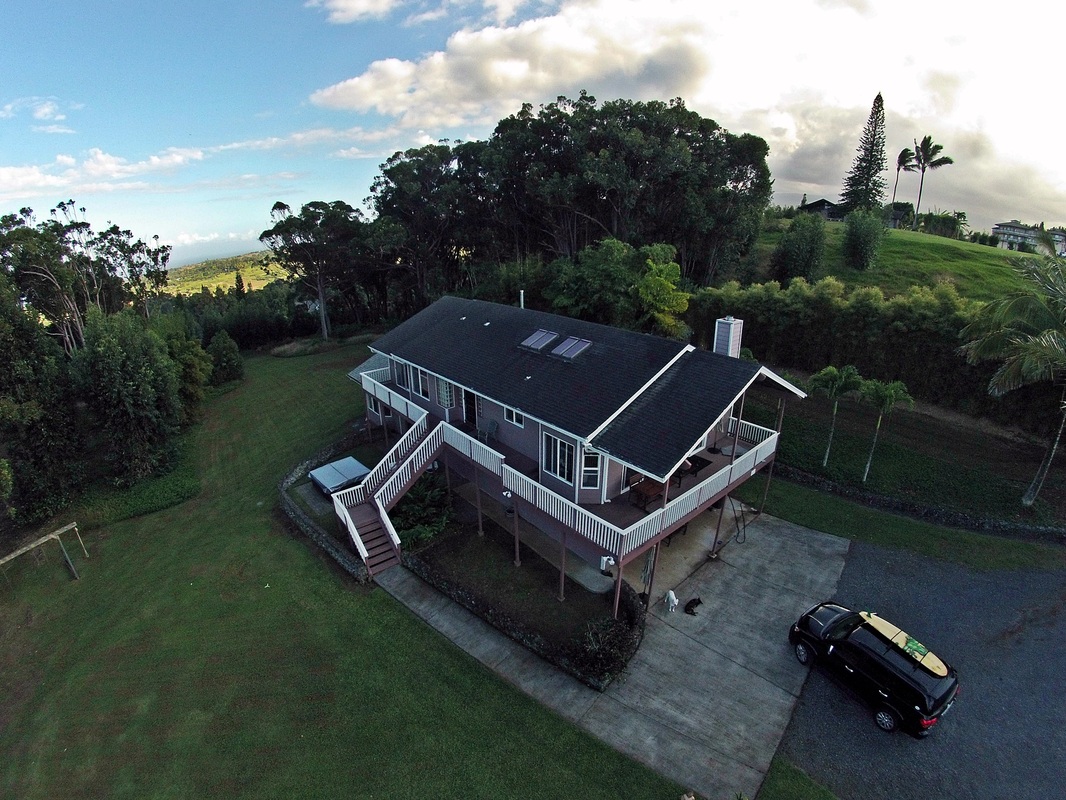 Step by step directions for editing aerial photography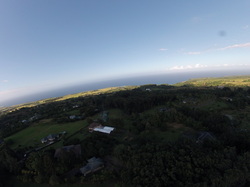 Here is a shot of what I think is "Jaws" the big wave surf spot that is famous in Maui. This is pretty far away and I shot it from about 100 feet above my backyard in Haiku. This is the original and I will walk you through a quick edit to improve it. Open the editor in photoscape and open your aerial photo. Find the little arrow going in a clockwise direction that says "Rotate Arbitrary" when you mouse over - this corrects for the tilt you get when filming in wind. Even if the picture seems level, I always go in and check because a little tweak can sometimes look way better than you think! 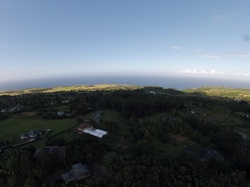 The next step is really a few steps all combined into one. I could break it out, but really you just click some buttons a few times and you will get a feel for what is important as you edit your photos. Click the AutoLevel button once and then click the Auto Contrast once. My favorite button is next, Backlight. I usually press it 1-3 times and just get a feel for what looks best. If you use it too much, the photo looks crappy. For this one, I pressed it twice. The finally step I press Sharpen once. Below is the final result. 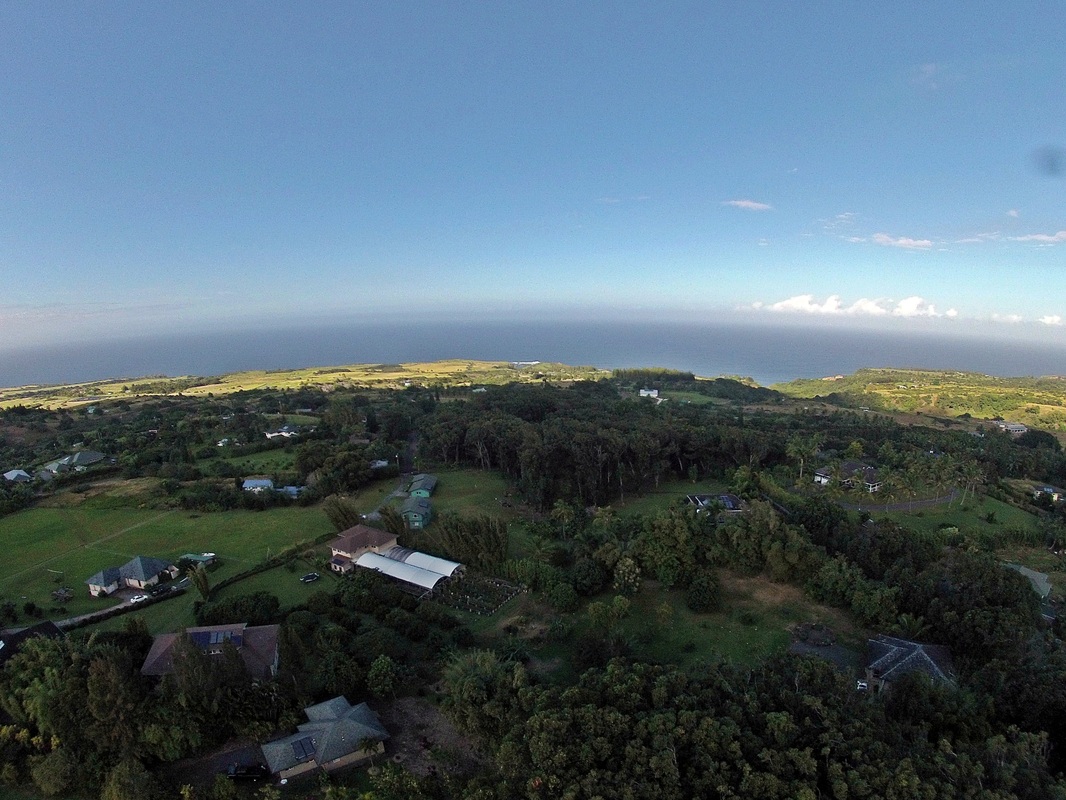 If you have any questions or comments, please feel free to contact me or comment below. If you found this useful or interesting, you will also enjoy my ebook on how to start an aerial photography business!
Comments
|
 Archives
June 2017
|