|
I finally got my trusty Inspire 1 back from DJI after the landing gear mechanism stopped working. About $275 and several phone calls later it flies as good as new [there will be another post about my experience with DJI support soon]. The X3 camera has a similar sensor as the GoPro, so low light work will never be amazing but with a bit of experimenting and post production work I was able to create the following image I am happy with. I really want to engage more with people who are reading my blog so I submit this simple challenge to anyone reading this who has a drone that can take AEB Bracketed photos - Go out and take a sunrise picture with your drone and send it to me to be featured in a slideshow at the end of this blog posting. 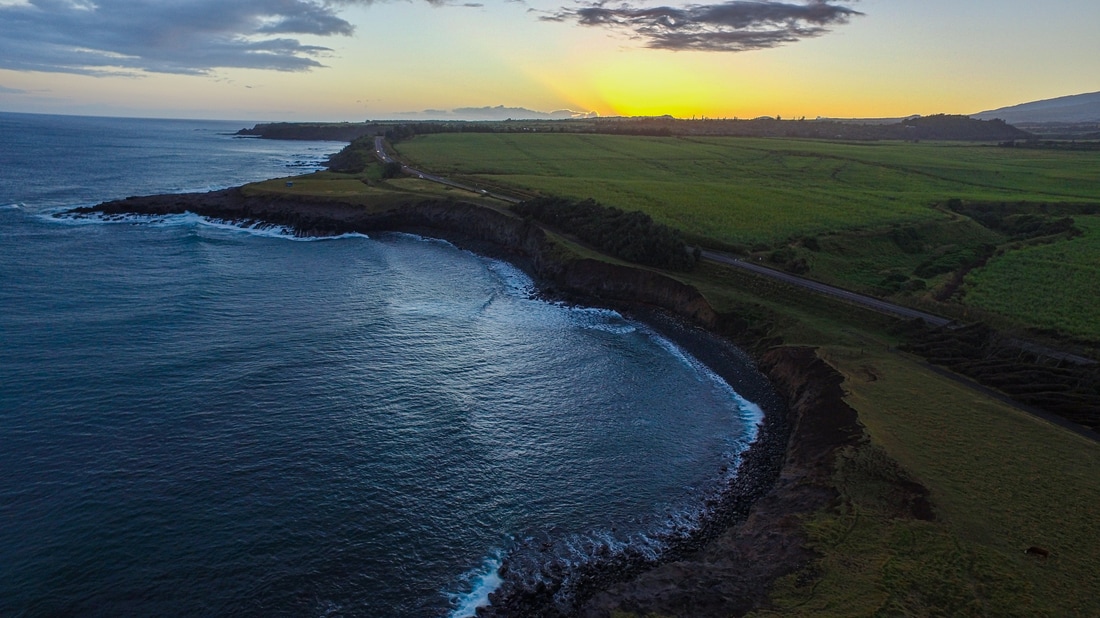 Shot on the Inspire 1 X3 cam, 3 shot bracket I am going to talk about the simple steps I took to make this photograph but if this is something you would like to see a full blown tutorial on, please let me know. Step 1: Set your photo mode to AEB Bracketing. This takes 3 or 5 shots with different exposures. For this test image I just took them in JPEG and did a 3 shot burst. If I wanted the absolute best post production material to work with I would do JPEG + RAW and do a 5 shot burst. When you are taking these, give your drone a second or two to stabilize before you take the picture. You really want things to be as stable as possible. Step 2: [You have lots of options for merging bracketed images, I just happen to use Adobe] Get the files onto your computer and open up Adobe Bridge. Navigate to your 3 or 5 bracketed RAW images and select them all using CTRL - Click. Then go to tools > Photoshop > Merge to HDR Pro. This will launch Adobe Photoshop and merge them together, leaving you with your final image. Step 3: It will present you with your final image that will not look all that impressive yet, just click ok. Now back into Photoshop, select your image and then from the top pull down menus Filter > Camera Raw Filter. There are a bunch of sliders you can move around until you have the perfect picture. I really like to turn down Highlights to make the cloud texture slow. Contrast and exposure can help compensate for lost brightness from adjusting highlights and shadows. Clarity sharpens things up a bit while Vibrance and Saturation bring out the colors. Now go try this out so I can add your picture below!!!
Comments
|
 Archives
June 2017
|